


Views: 0 Author: Site Editor Publish Time: 2026-10-08 Origin: Site


We have all spent hours meticulously prepping a surface. We sand the edges, clean the dust, and tape off the borders perfectly. Then, we finally apply the paint. Instead of a flawless, mirror-like finish, we get frustrating results. The paint bubbles, cracks, or develops an ugly "orange peel" texture. This frustrating outcome often happens when we ignore environmental limits. Aerosol performance relies heavily on the thermodynamics of the propellant. It also depends on the chemical curing process of the paint itself. When temperatures drop too low or spike too high, this delicate balance shatters instantly.
This guide provides evidence-based parameters for optimal spray painting temperature. We break down the exact environmental thresholds where paint finishes fail. You will learn how to evaluate the right paint formulation for marginal weather conditions. Follow these guidelines, respect the climate limits, and you will achieve a professional, durable finish every single time.
Ideal Range: The universal sweet spot for most aerosols is between 65°F and 85°F (18°C–29°C).
The Three Temperatures: Success depends on alignment between ambient air temperature, surface temperature of the object, and the internal can temperature.
Humidity Cap: Relative humidity must ideally stay below 65% to prevent blushing (cloudy finish) and adhesion failure.
Formulation Choice: Projects in borderline temperatures benefit from specific chemical profiles, such as fast-drying acrylic spray paint, to minimize the window of environmental exposure.
Applying aerosol paint is a chemical process. When you press the nozzle, two major reactions happen simultaneously. First, the propellant pushes the paint out. Second, the solvents begin to evaporate as they hit the air. Temperature strictly dictates the viscosity of the paint during this journey. If the air is too cold, the paint thickens. If the air is too hot, the solvents evaporate prematurely. You must control your environment to keep these chemical reactions balanced.
Industry standards provide a clear window for success. You should always aim for the middle of this range. Pushing the boundaries significantly increases the risk of coating failure.
Aerosol Temperature Parameters Guide
Parameter | Temperature Range | Expected Paint Behavior |
|---|---|---|
Absolute Minimum | 50°F (10°C) | Thick viscosity, slow curing, risk of runs and drips. |
Ideal Range | 65°F–85°F (18°C–29°C) | Smooth atomization, proper solvent flash-off, strong adhesion. |
Absolute Maximum | 90°F (32°C) | Solvents flash too quickly, dry spray, powdery texture. |
Temperature alone does not guarantee success. Humidity plays an equally critical role in the curing phase. You must monitor the "dew point" risk. The dew point is the temperature where air can no longer hold all its water vapor. When relative humidity climbs above 85%, invisible moisture settles onto your project surface.
This moisture traps itself under the wet paint film. As the paint tries to cure, the trapped water compromises the structural integrity of the coating. Professionals call this chemical failure "blushing." Blushing leaves a cloudy, milky haze on your once-glossy finish. It also destroys the mechanical adhesion between the paint and the substrate.
Furthermore, you must evaluate environmental consistency. Your weather conditions must remain stable not just during the active application, but for the first 24 hours of the curing phase. A beautiful afternoon paint job will fail if the temperature plummets below freezing overnight. The paint needs continuous, moderate warmth to off-gas properly.
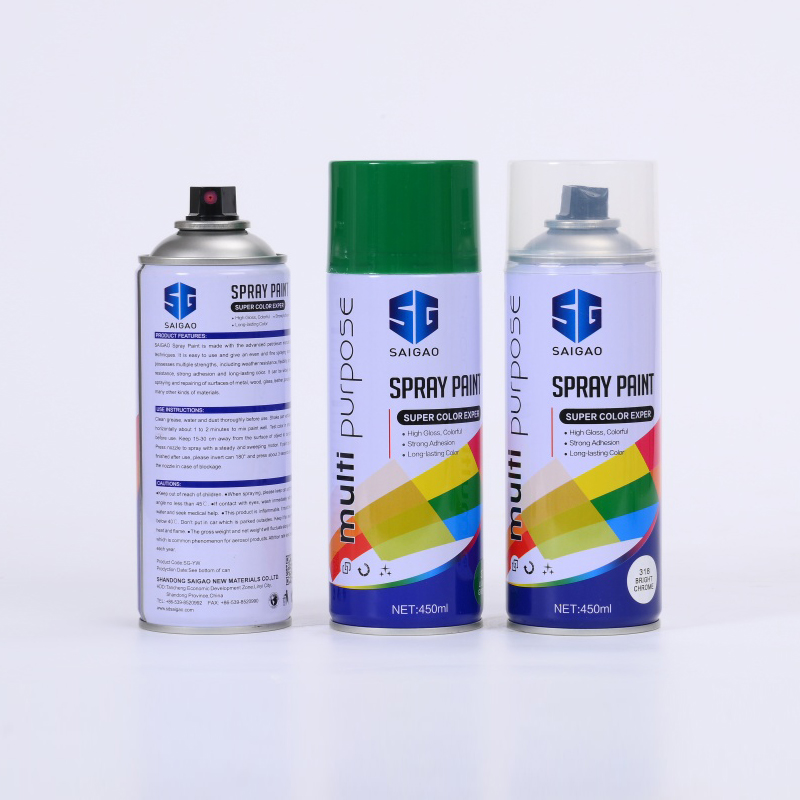
Cold weather destroys aerosol functionality on a mechanical and chemical level. When the temperature drops below 50°F (10°C), the internal pressure of the propellant drops dramatically. The can loses its force. Instead of a fine, even mist, you get a weak spray pattern. The nozzle will spit, sputter, and splatter large droplets onto your project.
Simultaneously, the cold thickens the paint formula. This increased viscosity prevents the paint droplets from flowing out and leveling together. Instead, they freeze in place as distinct bumps. We call this texture "orange peel," and it completely ruins a smooth finish. Cold weather also drastically prolongs drying times. A sticky finish acts as a magnet for dust, bugs, and debris.
Many beginners fail to understand the "can versus ambient" dynamic. A cold environment is bad, but a cold can is worse. You might spray inside a warm 70°F garage. However, if you stored the can in a freezing shed overnight, the internal temperature remains dangerously low. The propellant will still fail.
You can use specific implementation workarounds to beat cold cans. This strategy artificially raises internal pressure and thins the paint viscosity.
Valid strategy: Submerge your 400ml aerosol spray paint can in a bucket of warm tap water for 10 to 15 minutes. The water should feel comfortably warm to your hand, never hot.
Risk warning: Never use boiling water. Never put cans on radiators, stoves, or near open flames. Heat guns are extremely dangerous. Overheating an aerosol can will cause a catastrophic explosion.
If you cannot control the ambient temperature of your workspace, you face a strict decision matrix. You must evaluate whether you can safely move the project to a ventilated indoor spray booth. If you lack a proper indoor setup, you should postpone the project. Forcing a paint job in 40°F weather guarantees a failure that requires hours of sanding to fix.
Excessive heat creates an entirely different set of chemical nightmares. When you spray in temperatures exceeding 90°F (32°C), you encounter the dry spray phenomenon. Aerosol paint relies on solvents to carry the pigment from the nozzle to the surface. In extreme heat, these solvents evaporate mid-air before the paint ever reaches your project.
Because the carrier solvent disappears prematurely, the paint hits the surface as dry, coarse dust. It cannot level out or bond properly. Instead of a cohesive, glossy film, you get a powdery texture. You can often wipe this dusty layer right off with your bare hand.
High heat also triggers a severe defect known as solvent pop or bubbling. If the paint does reach the surface wet, the extreme ambient temperature bakes the top layer immediately. The surface skins over. However, the lower layers of paint remain wet and continue to release solvent gases.
Because the top layer has already hardened, these gases become trapped. As they expand in the heat, they push upward and rupture the surface finish. This leaves hundreds of tiny pinholes and bubbles across your workpiece.
To mitigate hot climate risks, implement these practical tactics:
Adjust your schedule: Spray during the early morning hours or late in the evening. The ambient air is cooler, and humidity is generally more manageable.
Control direct exposure: Never spray in direct sunlight. The sun aggressively heats the substrate.
Monitor surface temperatures: The ambient air might read 85°F, but a dark metal car hood sitting in the sun can easily reach 120°F. The substrate temperature will instantly boil the paint solvents on contact.
Your choice of chemistry dictates your margin of error. When you work in marginal weather, you must evaluate acrylic versus enamel formulations. Enamel paints provide excellent durability, but they require exceptionally long cure times. They dry slowly by oxidizing with the air. This extended wet phase leaves them highly vulnerable. If you spray enamel on a cool autumn afternoon, the dropping overnight temperatures will halt the curing process entirely.
In contrast, we strongly advocate for fast-drying acrylic spray paint when you face tight weather windows. Acrylics dry primarily through rapid solvent evaporation. This rapid flash-off sharply reduces the time your wet paint remains exposed to fluctuating temperatures. By locking the finish down quickly, you protect your project from dust, humidity spikes, and sudden evening chills.
Commercial users and DIY enthusiasts often tackle complex projects involving mixed materials. You might need to paint wood, metal, and plastic in the same session. Different materials have varying thermal mass rates. Metal holds cold much longer than wood does. Plastic expands and contracts differently in the heat.
To combat these variations, you should evaluate the use of a multi-surface acrylic spray paint. These specialized formulations contain advanced adhesion promoters. They maintain consistent curing behavior across different thermal masses. You avoid a scenario where the paint cures perfectly on the wood but bubbles on the cold metal brackets.
When selecting your products, use professional shortlisting logic. Do not rely solely on the marketing claims printed on the front label. Instead, guide your decisions by reading the Manufacturer Technical Data Sheets (TDS). The TDS outlines the exact thermal tolerances, maximum humidity limits, and recommended recoat windows. Following the TDS ensures you work within the actual chemical boundaries of the product.
Professionals never guess the weather; they verify it. Before you press the nozzle, you must run through a strict environmental checklist. Managing your risk upfront saves you from catastrophic rework later.
You must verify that your substrate (the surface you are painting) matches the ambient air temperature. Thermal shock ruins adhesion. For example, bringing a freezing cold metal part from an unheated garage into a warm basement causes instant condensation. Even if you cannot see the water, a microscopic layer of moisture forms. Wipe the surface down and let it acclimate for at least two hours before spraying.
You cannot over-shake an aerosol can. Pigments and metallic flakes settle heavily at the bottom of the tin. Colder temperatures make this settling worse. Vigorously shake the can until you hear the internal mixing ball rattle. Once it rattles, you must continue shaking for a full two minutes. Colder environments require even more physical agitation to achieve proper chemical suspension.
Never make your first spray pass on your final project. You must always perform a test spray on scrap cardboard. Place the cardboard in the exact environment where you plan to paint. This test verifies three critical factors. First, it ensures the nozzle clears any dried paint. Second, it proves the propellant pressure is adequate. Third, it validates that the paint atomizes correctly in your current temperature and humidity. If the test spray sputters or looks powdery, stop immediately.
Mastering your environment is the ultimate secret to professional painting. Adhering to the ideal 65°F–85°F temperature range is the highest-leverage action you can take. You can prep a surface perfectly, but ignoring the thermodynamics of your workspace will ruin the final result. Chemistry does not compromise.
Trying to cheat extreme weather conditions usually ends in disaster. A rushed paint job in freezing cold or blistering heat leads to orange peel, blushing, or bubbling. Fixing these defects requires days of sanding, stripping, and costly re-work. Patience is significantly cheaper than failure.
Before your next project, take proactive steps. Check your local hourly forecasts for both temperature and humidity. Bring your materials inside to properly acclimate your aerosols and substrates. Finally, select the right formulation, like an acrylic base, for your specific application window. Respect the limits of your paint, and it will reward you with a flawless, durable finish.
A: No. Below freezing, the paint will not atomize properly, and acrylics risk freezing inside the can. Curing halts completely at these temperatures, leading to immediate mechanical failure, extreme orange peel, and zero adhesion to the substrate.
A: Cold weather extends drying times exponentially. A formulation that typically takes 1 hour to dry to the touch at 70°F may take 4 to 6 hours or more at 50°F. Wait at least 48 hours before handling the object.
A: Yes, warming the can in a lukewarm water bath restores internal propellant pressure and lowers paint viscosity. This technique yields a much finer, more even mist, reducing the risk of splatters and drips.
A: Ideally, humidity should stay between 40% and 50%. However, anything under 65% is generally safe. High humidity traps moisture under the paint, causing cloudy blushing and severely compromising surface adhesion.

