


Views: 0 Author: Site Editor Publish Time: 2026-08-31 Origin: Site


A minor material failure in construction often triggers massive financial losses. When a joint sealant shrinks, contractors immediately face costly call-backs. This single defect compromises thermal envelopes and invites structural water damage over time. Polyurethane (PU) foam acts as a reliable industry standard for insulation and air sealing. However, post-curing shrinkage remains a major risk factor. We see this frequently when inferior product formulations meet variable site conditions. Professionals cannot afford to gamble on unstable materials. You need proven methods to ensure complete dimensional stability on every job site. This article provides contractors, specifiers, and procurement managers with an evidence-based framework. We will explore the root chemical causes of foam failure and outline strict application protocols. You will learn how to properly evaluate, select, and apply PU foam to guarantee lasting joint integrity.
Formulation Over Yield: High-yield claims often mask low-density formulations prone to cellular collapse and shrinkage; prioritizing dimensional stability specs is critical.
Moisture is the Catalyst: Optimal curing requires strict adherence to ambient and substrate moisture guidelines, not just temperature controls.
Application Dictates Outcome: Layering techniques and proper can preparation are non-negotiable for deep-joint applications.
Purpose-Built Selection: Standard "gap-filling" foams cannot be universally swapped with specialized "window and door" sealants due to differing expansion and pressure requirements.
Shrinkage rarely reveals itself immediately during application. It often takes days or weeks for the physical symptoms to manifest. In the field, shrinkage looks like the sealant slowly pulling away from the framing substrates. You might notice hairline cracks forming along the edges of the cured bead. In severe cases, large internal voids emerge, leaving gaps right where structural sealing matters most. These defects essentially erase the barrier properties of the installation.
The downstream effects severely impact both project budgets and company reputations. First, compromised joints lead to failed blower door tests. Installers must then spend hours hunting down air leaks to meet energy codes. Second, unsealed gaps allow moisture ingress. This hidden moisture often gets trapped behind drywall, creating a perfect breeding ground for mold and structural rot. Finally, the labor costs associated with remediation are staggering. Crews must physically scrape out the failed joints, prep the surfaces again, and reapply new materials. The rework process destroys profit margins.
You can trace these failures back to two core variables. The first category involves formulation deficiencies. Manufacturers sometimes use cheap chemistry to lower production costs, resulting in weak cellular structures. The second category involves application errors. Even premium formulas will fail if operators ignore environmental constraints or skip crucial preparation steps. Understanding both categories is essential for preventing future defects.
To prevent shrinkage, we must understand the underlying science. The curing process relies on a specific chemical reaction between isocyanate (NCO) groups and hydroxyl (OH) groups found in moisture. When these elements interact, they create a solid polyurethane matrix while releasing carbon dioxide gas. This gas expands the material into a foam structure. If a product contains excess unreacted prepolymer, the internal closed-cell matrix remains weak. The trapped propellant gas escapes through these weak cell walls faster than ambient air can replace it. This imbalance causes a vacuum collapse, which you see externally as shrinkage.
Temperature asymmetries also disrupt this delicate chemical balance. Many contractors make the mistake of storing materials in freezing trucks before bringing them inside for use. Applying cold PU foam spray in a warm environment causes uneven chemical reactions. The outside of the bead cures rapidly, while the cold core remains unreacted. As the core finally warms and attempts to cure, it collapses inward. You must align the temperature of the canister, the substrate, and the ambient air to ensure uniform expansion.
Moisture deficits represent another major cause of failure. Standard one-component (1K) foams are strictly moisture-curing products. They depend entirely on ambient humidity and surface moisture to complete their chemical cross-linking. A lack of ambient humidity stalls the curing process completely. Dry, porous substrates like wood or concrete will actually wick moisture away from the expanding bead. This leaves the internal cell walls fragile and highly susceptible to post-cure collapse.
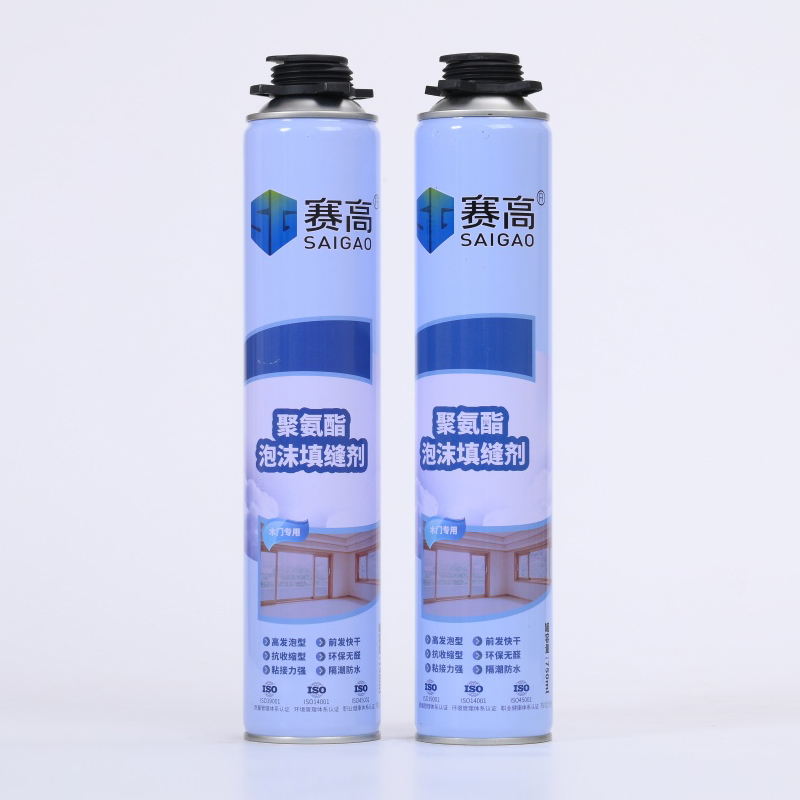
Selecting the right product begins long before you arrive at the job site. You must learn how to properly evaluate a product's Technical Data Sheet (TDS). The TDS reveals the true capabilities of the chemistry. When evaluating a reliable anti-shrinkage PU foam, you must look for specific dimensional stability parameters. High-quality products explicitly state their shrinkage volume. You want to source formulations that guarantee less than 2% to 5% dimensional change after full curing.
Many buyers fall into the trap of purchasing based solely on volume output. Manufacturers heavily market "high-yield" formulas to appeal to budget-conscious contractors. However, yield often trades off directly against density. Higher density products offer superior cellular structure and immense mechanical strength. They contain a higher ratio of solid polymers, which heavily reduces the risk of vacuum collapse.
Density vs. Yield Trade-offs in Foam Selection
Feature | Low-Density / High-Yield Foam | High-Density / Anti-Shrinkage Foam |
|---|---|---|
Cell Structure | Thin, fragile cell walls | Thick, robust closed-cell matrix |
Volume Output | High (covers more linear feet per can) | Moderate (prioritizes mass over volume) |
Shrinkage Risk | High (especially in dry conditions) | Low (structurally stable post-cure) |
Best Use Case | Shallow, non-critical aesthetic gaps | Deep structural joints, exterior envelopes |
Compliance and certification lenses also matter greatly. Look for products tested against recognized industry standards. For building envelopes, ASTM standards or AAMA testing protocols verify that vendor claims hold up under rigorous laboratory conditions. Do not trust marketing buzzwords without verifiable third-party testing documentation backing them up.
Finally, consider the climate. We strongly recommend partnering with manufacturers offering specific seasonal formulations. Winter blends cure effectively at lower temperatures, while summer blends resist premature expansion in high heat. Relying on "all-season" compromises often leads to inconsistent results during extreme weather months.
You can purchase the best formulation on the market, but poor site application will still cause failure. Substrate preparation serves as your first line of defense. Because 1K products require moisture, you must actively introduce it to the environment. We advise crews to adopt strict surface misting procedures.
Follow these standard operating procedures (SOPs) for misting:
Clean the joint thoroughly to remove all dust, grease, and loose debris.
Use a spray bottle to lightly mist the substrate with clean water before application.
Apply the first layer of sealant.
Lightly mist the top of the freshly applied layer before adding a second pass.
This method ensures moisture penetrates the core of the bead, promoting a uniform and rapid cure rate from the inside out.
Temperature stabilization requires rigid discipline. Canisters must reach optimal application temperature before use. This typically hovers around 20°C (68°F). Do not leave cans in the sun to warm up, and never apply a can pulled straight from a freezing truck. Allow materials to rest in a climate-controlled room for 24 hours prior to application regardless of external weather conditions.
Deep joints demand specialized layering techniques. Filling a deep void in a single, massive pass traps uncured propellant deep inside the cavity. The surface skins over quickly, preventing ambient moisture from reaching the core. We recommend a step-by-step layering approach for any standard gap filling expanding foam. Apply the material in layers no thicker than two inches. Wait for the first layer to become tack-free before adding the next.
Curing time discipline prevents mechanical damage. Installers frequently rush to trim excess material to speed up cosmetic finishing. Cutting or manipulating the bead before it reaches a full chemical cure damages the internal cell structure. While a product may feel tack-free in 15 minutes, the full cure often requires 24 hours. Prematurely cutting the skin releases trapped gases and instantly causes the remaining material to shrink back into the joint.
Window and door installations require exceptional precision. You cannot universally swap standard gap fillers with fenestration-specific products. Standard formulas expand aggressively and exert high pressure against substrates. If you use them around window frames, the immense curing pressure will bow the extrusions. This ruins the operation of the sash and invalidates the window manufacturer's warranty.
A proper window and door foam sealant must exhibit uniquely low expansion pressure. These specialized formulas expand just enough to fill the void without pushing against the framing. Furthermore, they must maintain absolute zero shrinkage to ensure long-term airtightness. Even a one-millimeter gap caused by shrinkage around a window frame will create a massive thermal bridge and leak water during a storm.
When selecting a supplier, evaluate their Experience, Expertise, Authoritativeness, and Trustworthiness (E-E-A-T). Reliable vendors provide detailed batch traceability. If a failure occurs, they should easily trace the product back to its manufacturing date. Ask yourself if their technical support teams remain accessible for job-site troubleshooting. A vendor who disappears after the sale offers little value when complex environmental conditions arise on site.
Always demand a proof of concept before committing to a bulk procurement order. Order trial batches to conduct on-site mock-up tests. Spray parallel joints on scrap framing under actual site conditions. Leave them untouched for 48 hours, then measure them for dimensional changes and cut them open to inspect the cell structure. This physical validation prevents massive failures across hundreds of units.
Preventing joint failure is never a matter of luck. Achieving dimensional stability requires a 50/50 split between selecting a high-quality formulation and enforcing strict site application standards. You must prioritize density and chemical stability over high-yield marketing claims. Simultaneously, site crews must adhere to rigorous temperature and moisture protocols.
Your next step involves auditing your current inventory. Pull the Technical Data Sheets for the sealants your teams currently use. Look specifically for dimensional stability metrics and certified testing standards. If those metrics are missing or vague, it is time to upgrade. Contact your technical sales representatives to request product samples tailored to your specific regional climate. Implement mandatory mock-up testing on your next project to guarantee callback-free installations.
A: This delayed reaction stems from trapped propellants and incomplete internal curing. The outer layer skins over rapidly, looking visually perfect. However, if applied without sufficient ambient moisture or layered too thickly, the core remains unreacted. As the trapped gases slowly escape over a few days, the weak internal cells collapse, pulling the outer layers inward.
A: Rigid closed-cell foams are actually more susceptible to internal vacuum collapse if the chemical formulation is poor or if operators apply it in incorrect temperatures. Because the cells are closed, escaping gas creates a strong vacuum effect. Open-cell, highly flexible formulas absorb movement and gas exchange better, making them less prone to visible shrinkage.
A: Patching over shrunk material leaves a compromised air and water barrier. The initial shrinkage indicates weak adhesion to the substrate. Adding new material on top will not restore the structural integrity of the original joint. Complete removal, proper surface preparation, and full re-application remains the only compliant fix for critical building envelope joints.

